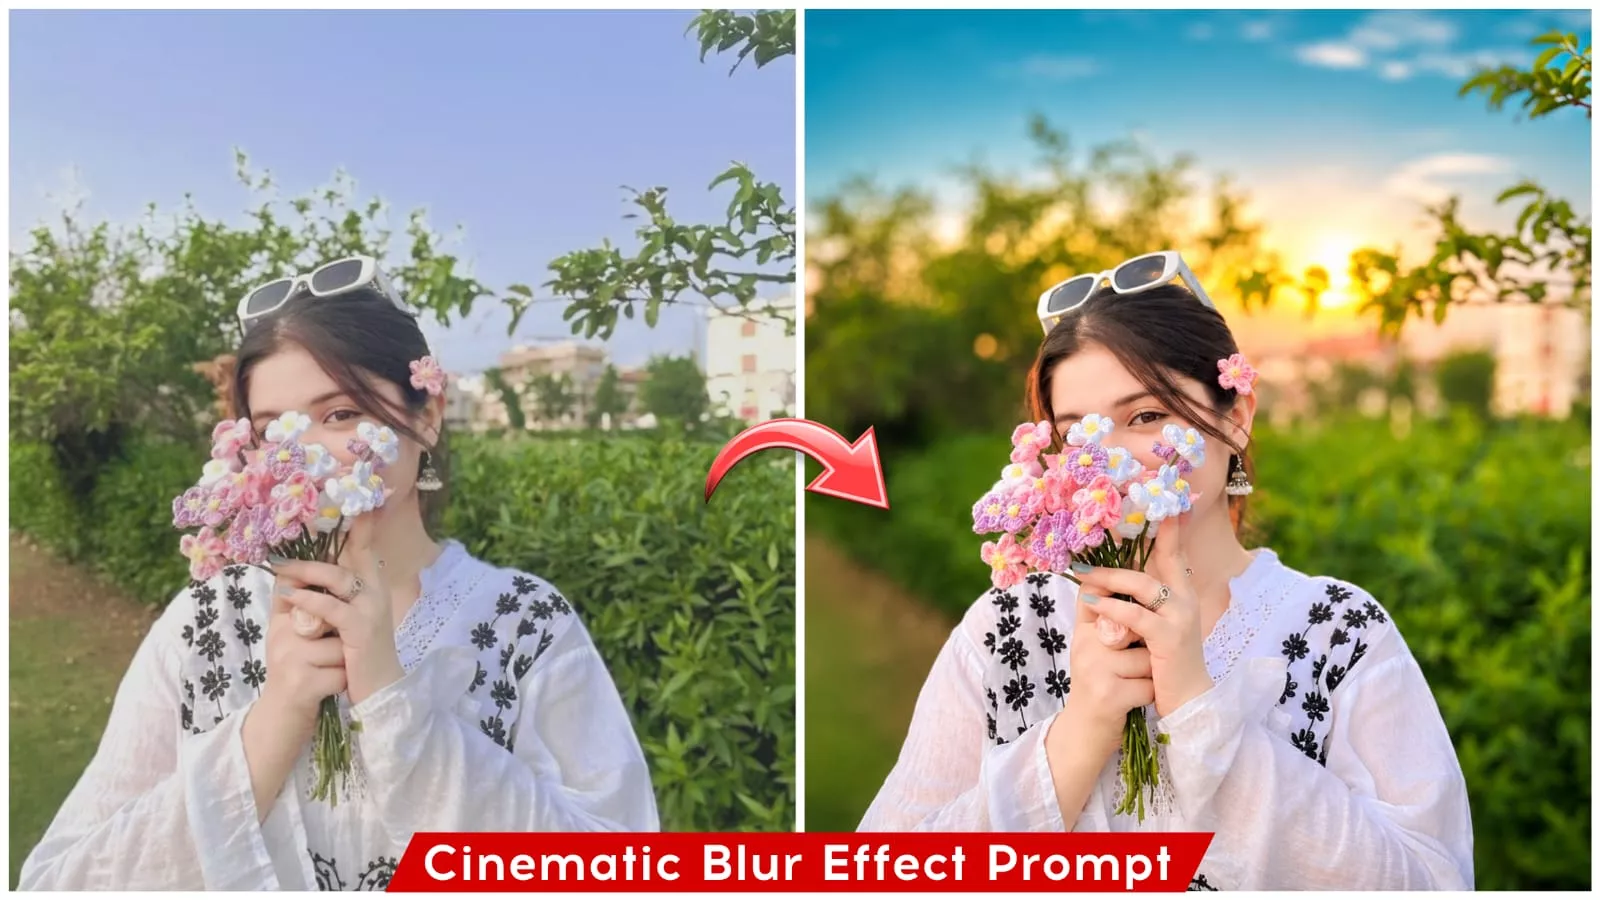
Cinematic Blur Effect Ai Photo Prompt – Even on social media, you’ll notice that these cinematic photos are going viral. You’ll see these cinematic photos garnering millions of likes and views, and people are eager to create more of them. If you’re someone who wants to create such a viral photo, you’ve come to the right place. In this article, we’ll explain how to easily create this trending photo with today’s editing. You don’t need to do anything special to create it. You can create a truly stunning photo by following the same process. What will be its creation process?
Cinematic Blur Effect Ai Photo Prompt
The editing style currently going viral is truly unique. It transforms your regular photos into images with a cinematic blur—creating a realistic, professional-grade, DSLR-style blur in the background. Crucially, your face remains completely unchanged; everything matches perfectly, which is why it has become so popular. Essentially, your original setting stays exactly the same, but the background—which wasn’t blurred in the original photo—is enhanced with a cinematic, DSLR-like blur. The resulting effect is remarkably unique and creative. In this guide, we’ll explore how it works and show you how to create your own photos while keeping your face perfectly intact.
How to Get Accurate Face Results in AI Image Generation
Many people complain that whenever they generate an image, their face doesn’t match. The key here is that using the right face in your reference photo is crucial. You need to be careful about the reference photo you choose—for instance, it shouldn’t be blurry, and it should be of high quality. Furthermore, ensure that your face is clearly and properly visible in the image. Using a ‘half-body’ (or close-up/portrait-style) photo will yield much better results. I will guide you step-by-step through the process so you can see the kind of results you get when you use the right type of photo.
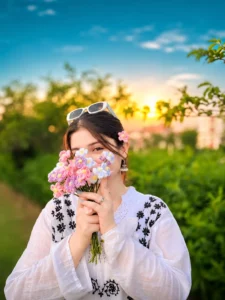
Using the original photo as the exact base, apply realistic professional DSLR cinematic colour grading with beautiful optical depth of field and natural background blur.

1. Subject Preservation — Highest Priority
   Preserve the original subject exactly. Do not change facial features, expression, hairline, hairstyle, hair texture, pose, hand position, clothing, body proportions, skin tone, or subject position. Keep the subject completely sharp and detailed, especially hair strands, hands, clothing texture, and body edges.

2. Professional DSLR Background Blur
   Create a realistic DSLR portrait photography effect using a professional 85mm portrait lens at approximately f/1.8 aperture.

- Apply smooth, natural optical background blur.
- Keep the entire subject in sharp focus.
- Beautiful creamy bokeh in distant trees and background elements.
- Make distant trees, hut, grass, and background surroundings softly out of focus.
- Create natural foreground and background depth separation.
- Preserve recognizable background shapes while softly blurring fine details.
- Add beautiful circular sunlight bokeh where appropriate.
- Smooth, gradual depth-of-field transition around the subject.
- No artificial blur edges, no cutout effect, no excessive Gaussian blur.

3. Cinematic Colour Grading
   Upper sky: Deep teal-blue with dreamy soft highlights and gentle atmospheric glow.

Horizon: Beautiful soft white glowing haze with warm golden sunset light.

Background: Rich natural deep-green forest tones with cool teal-blue shadows and subtle atmospheric mist.

Sunlight: Warm golden-hour sunlight with subtle orange rim lighting around the subject's hair.

4. Subject and Skin
   Maintain original natural skin colour, skin texture, pores, and imperfections. Keep warm skin tones natural. Preserve original clothing colours. No artificial skin smoothing or beautification.

5. Professional Camera Look
   Create the appearance of a photograph captured using a professional full-frame DSLR camera, 85mm f/1.8 portrait lens.

Natural depth of field, creamy cinematic bokeh, beautiful subject separation, realistic lens rendering, soft highlight rolloff, rich shadows, premium cinematic photography.

6. Bottom Fade
   Add a subtle black gradient from the bottom edge, fully black only in the lowest 8% and gradually fading to zero by 35% of the frame height. Keep the gradient away from the subject's body, hands, and clothing.

7. Vertical Frame Extension
   Extend the original frame to 3:4 by naturally adding sky above and foreground below. Keep the subject's original position, size, and proportions unchanged. Do not crop any original elements.

Final Output: Ultra-realistic professional DSLR cinematic portrait photography, sharp subject, creamy blurred background, natural optical bokeh, beautiful teal-blue and golden-hour colour grading, premium photography quality.

Strict Rule: Do not modify the original subject. Only enhance lighting, colour grading, depth of field, background blur, and frame extension.
How To Create This Image?
To create this image, you first need a proper prompt—which we have provided in this article. You should understand the concepts shared here and apply them to your own editing process. Start by copying the prompt from this article, then open ChatGPT. Paste the prompt, click the plus (+) icon to upload your reference photo, and then hit ‘generate.’ It will take a moment to process, and you will soon have a high-quality, refined image.
Conclusion
You can create similar trading-style edits; I hope you liked this edit.