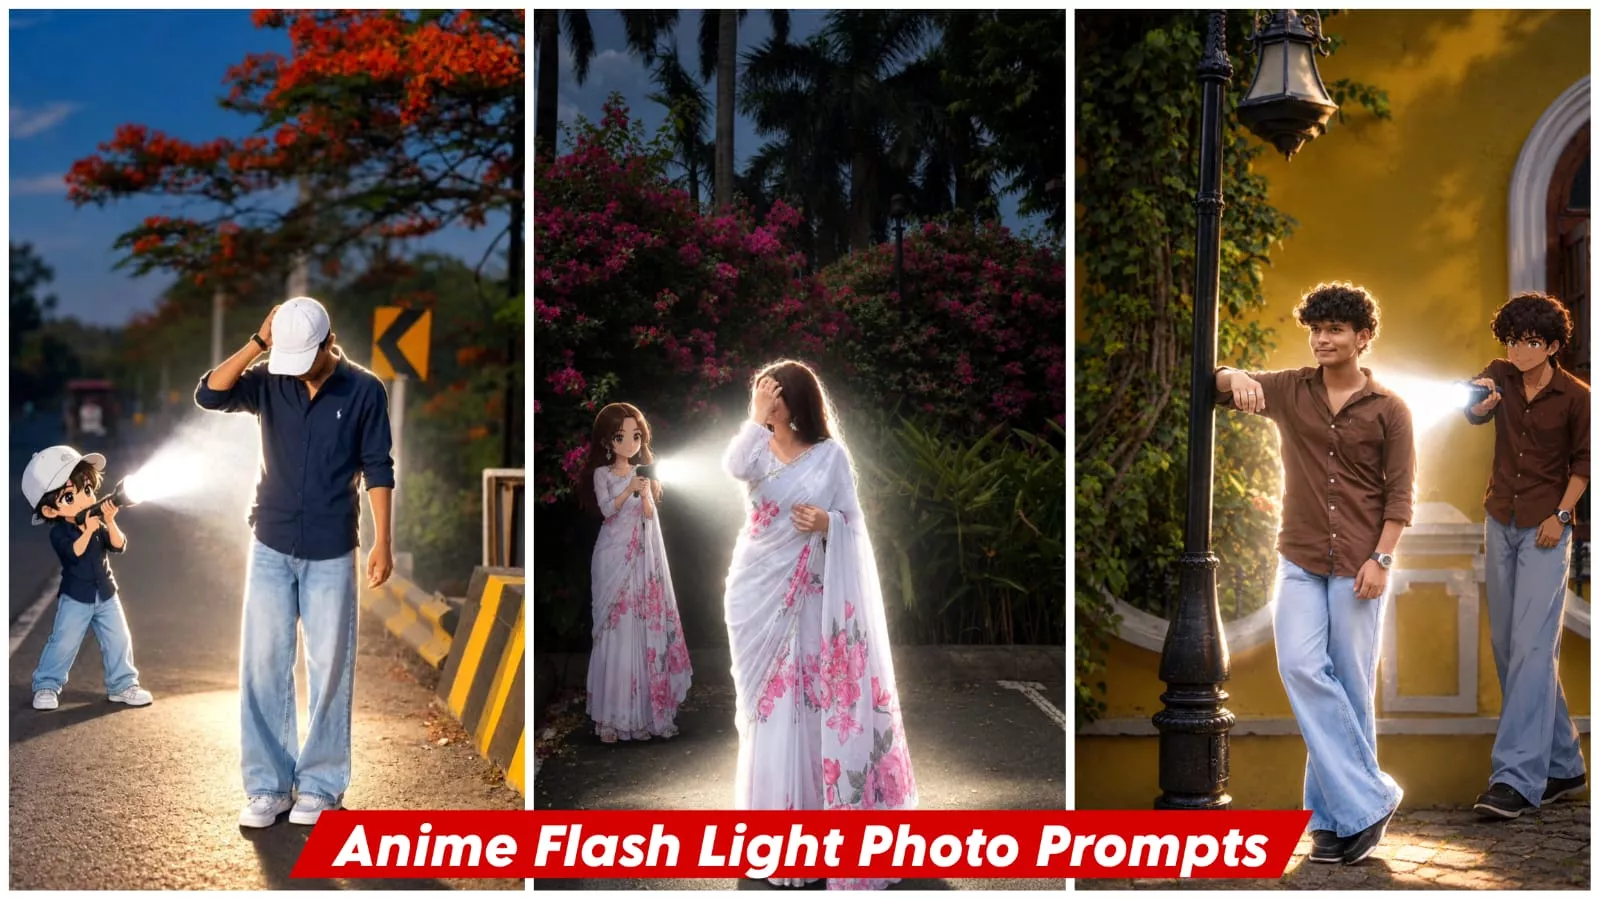
Anime flash Light Ai Photo Editing Prompt – You will notice that these new-style trading photos are going viral on social media. People are gaining popularity by creating these AI-generated images, and the creation process itself is quite simple. Once you understand the method, you can create perfect, high-quality photos. If you want to create them yourself, this article will explain the process in detail. I will outline the simple steps that ensure excellent results and perfect editing. Just follow the instructions correctly, and you won’t face any issues during the editing process. If you do encounter any problems, feel free to ask us in the comments.
Why Editing Trends Go Viral ?
This specific style of editing is currently trending on social media because people appreciate the unique concept behind it—particularly the way the character stands out in the foreground. The anime-style character resonates with viewers; they see a reflection of themselves in it and feel a personal connection, which is why it appeals to them so much. We really liked this style too, which is why we are sharing this article to show you how to create these images using a simple prompt. You won’t need to do anything complicated; just follow these steps, and you’ll get excellent results.
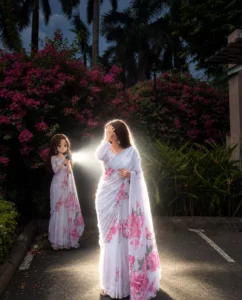
Transform the main subject into a small full-body anime/cartoon version of themselves, matching their hairstyle, outfit, accessories, colors, and recognizable details. Use the reference's clean modern anime aesthetic sharp linework slightly oversized head, compact proportions, cel shading, and expressive details. Position the anime character directly behind the real subject, holding a flashlight aimed forward at their back. Create an intense realistic white beam that fully illuminates the subject from behind, producing bright rim light, glow, and natural shadows. Dim the surrounding outdoor light for dramatic contrast. Preserve the original scene, camera angle, composition, and realism.
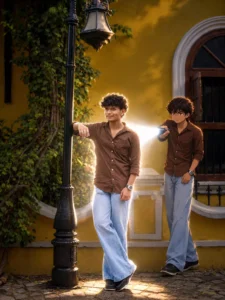
Transform the uploaded photo into a cinematic real-life and anime fusion scene. Keep the main subject completely recognizable, preserving their original face, hairstyle, body proportions, clothing, accessories, pose, and overall appearance. Add a small full-body anime version of the same person standing naturally behind them, wearing the exact same outfit and matching the hairstyle and colors. Give the anime character a polished modern anime design with crisp linework, expressive eyes, subtle cel shading, and slightly exaggerated proportions. The anime character should hold a powerful flashlight directed toward the real subject's back. Create an intense realistic white light beam with strong illumination, soft atmospheric glow, bright edge lighting, realistic shadows, and subtle light particles. Slightly darken the surrounding environment to emphasize the flashlight while maintaining the original sunset/outdoor atmosphere. Preserve the original background, camera perspective, framing, composition, and photographic realism. Make the anime character feel naturally integrated into the environment with accurate contact shadows and lighting interaction. Create a highly detailed, cinematic, realistic-looking final image with a seamless anime-meets-photography effect, Ratio 3:4
What makes this new trend in AI photo editing so unique?
In the past, photo editing focused primarily on enhancing an image—touching up the face, improving colors, changing the background, or adjusting the lighting. Today, however, instead of merely improving a photo, the entire image is transformed. Elements are adjusted so that a standard street photo, for instance, is redefined to look like a scene from a movie, making it incredibly attractive. Your clothing is adapted to match the setting, and elements like rain or snowy weather are automatically integrated into the background. Because all these adjustments happen automatically, people are increasingly drawn to this trend.
How To Create Anime flash Light Ai Photo Editing Prompt ?
To create this photo, you simply need to know this easy method. You will see your photo turn out with excellent results, and you’ll be amazed at the fantastic editing—all you have to do is use a prompt. Your photo will be ready with a professional finish. Here’s how: first, you need to use ChatGPT. Start by copying the prompt, then open ChatGPT.
Click on the plus (+) option to upload any reference photo. After that, paste the prompt and generate the image. This will create a stunning photo for you—one that perfectly matches the style of the prompt you copied.
Conclusion
Using the prompts correctly, you can easily create your own photos. We’ve explained all the details of editing. We’ve also thoroughly understood everything. If you have any problems with it—if you can’t understand it, or can’t create—tell us in the comments. We’ll bring you even better editing tips to enhance your photos and make them go viral.