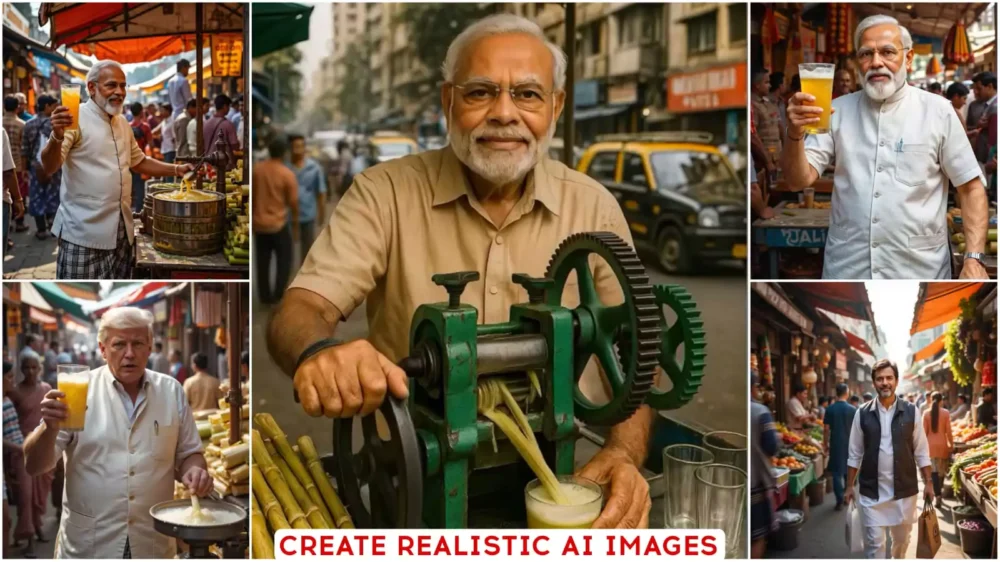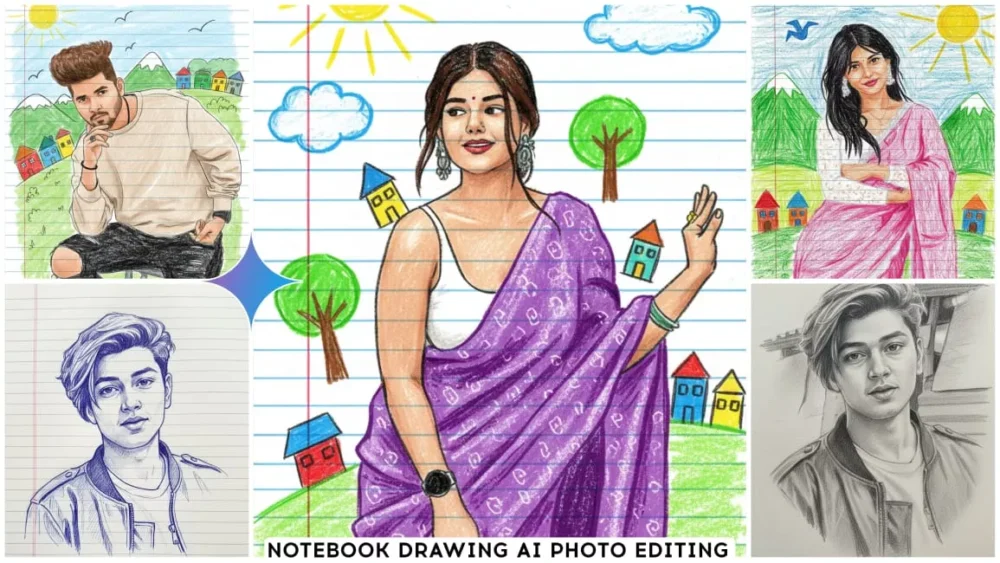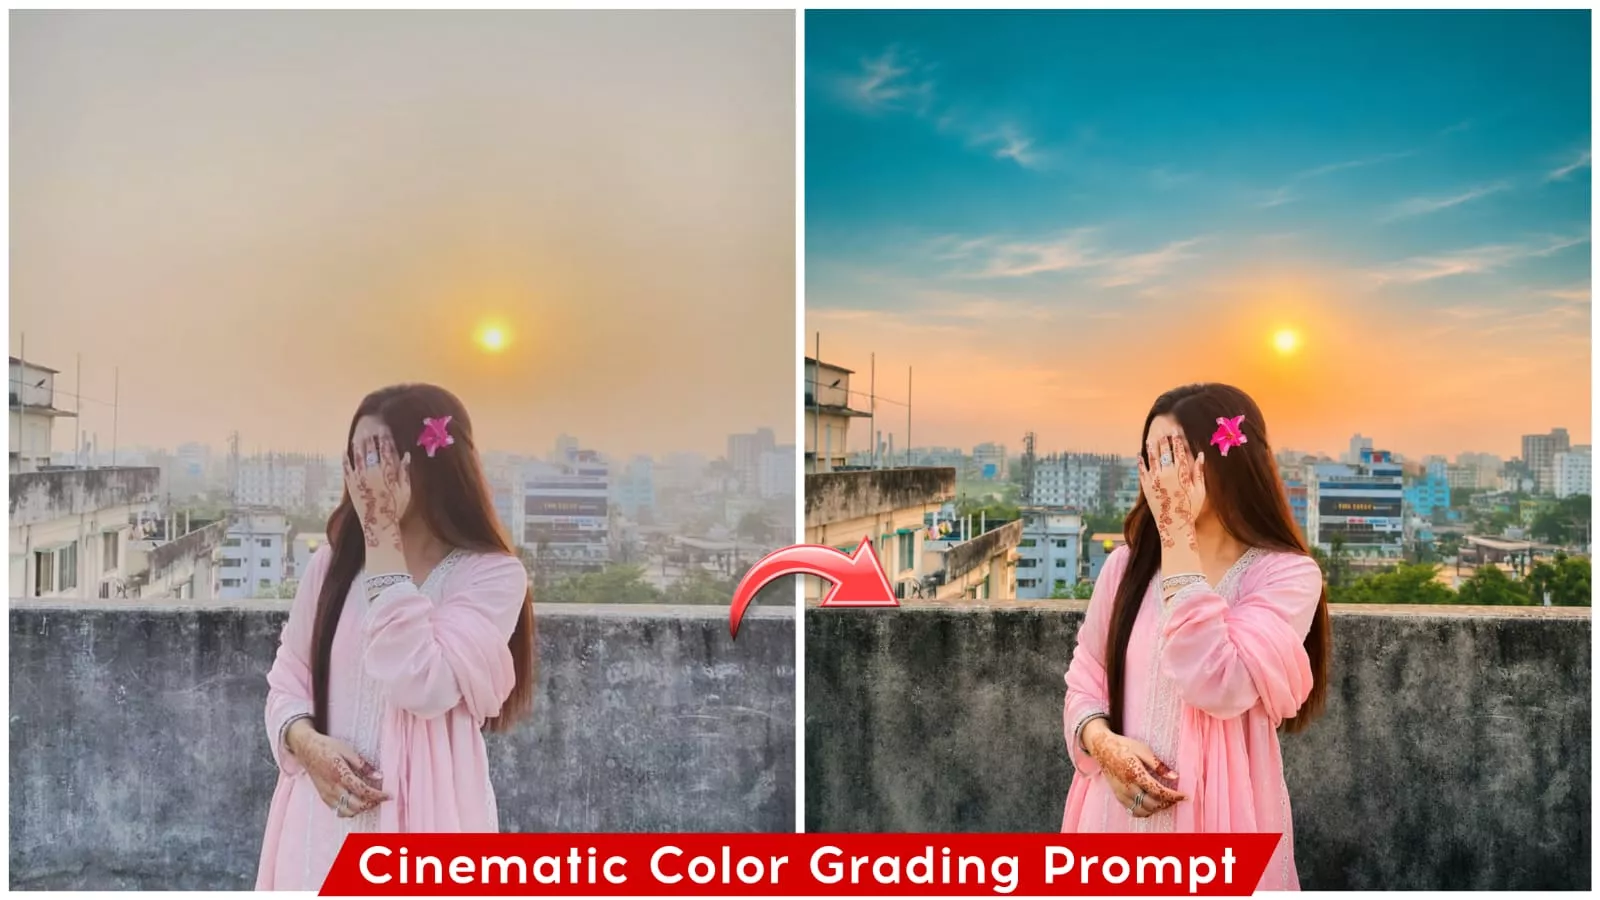
Cinematic Color Grading Ai Photo Prompt – You might have noticed that photos with this specific color style have gone viral on social media. People are transforming their ordinary photos into images with a cinematic look—and you can do it too! You don’t need to do anything complicated; simply follow a straightforward process to achieve this effect. We won’t be doing any manual editing; instead, we’ll use a more efficient method—leveraging ChatGPT—to easily create these photos. If you’d like to learn how, this article will provide a step-by-step guide to walk you through the entire process.
Cinematic Color Grading Ai Photo Prompt
First, let’s talk about the kind of color-based editing that’s popular these days. Many people still assume that this type of editing is done using the Lightroom app, but that’s not the most effective way. Let me show you a better approach: nowadays, you can use AI tools for your editing. You simply provide a prompt, and the AI handles the rest, resulting in a perfectly edited photo. If you’d like to learn the specific steps, they are explained in the article—it’s essentially a “copy-paste” method that anyone can easily follow.
How To Generate Image Using ChatGpt?
If you want to use ChatGPT to generate images, you will first need a prompt, as well as a reference photo—which we have already provided here. Copy the prompt, then open ChatGPT and upload your reference photo. The photo you choose should already have everything set up exactly as you want it. The background will not be changed; only color correction will be applied. Simply upload the photo, use the provided prompt, and generate the image. Your photo will be professionally processed and ready—that is how you can create it.
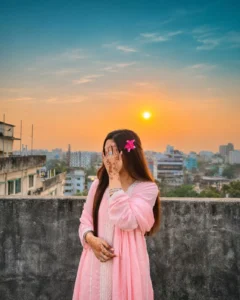
Apply premium Teal & Warm cinematic grading inspired by wedding photography. Create rich, vibrant colors, subtle teal shadows, deep greens and warm golden highlights. Enhance color depth and contrast. Keep blacks detailed, highlights soft, whites clean and skin tones realistic. Avoid oversaturation. Adapt grading to each photo’s lighting.STRICTLY PRESERVE every person’s exact face, identity, features, expression, skin texture, body, hair, clothes, jewellery and pose. Do not retouch, smooth, reshape or regenerate faces. Do not add, remove or change any person, object, clothing or background. Preserve original composition, framing, perspective and details. ONLY adjust color, white balance, exposure, contrast, highlights, shadows, vibrance and saturation. No generative edits. Deliver a rich, professional DSLR-quality photo. Premium finish.
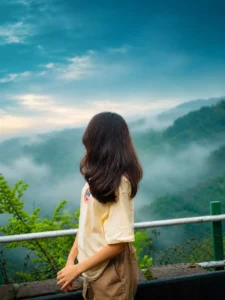
Apply realistic cinematic colour grading to the original photo. Create a beautiful deep teal-blue sky with soft white glowing haze and a smooth faded white glow near the horizon. Add subtle atmospheric mist over the distant mountains, cool teal-blue shadows, natural deep green forest tones, and soft cinematic contrast. Apply a smooth black fade making from the bottom, gradually darkening the foreground rocks and grass with a natural feathered transition. Keep the upper sky bright, dreamy, and softly glowing while maintaining rich details in the landscape. Enhance resolution, clarity, and fine details for a professional DSLR quality look.Preserve the exact original subject, face, hair, pose, hands, clothes, body proportions, and composition. Keep natural textures and realistic colours. No AI look, no face regeneration, no artificial skin smoothing, no oversaturation, no HDR, no distortion, no excessive sharpening, and no fake lighting. Make the final image look like a real cinematic.
What kind of photo is needed for this type of editing?
Well, if you want to create a high-quality image, it is essential to have your source photo ready beforehand; this is key to achieving a perfect result. The process primarily involves color grading—for instance, the sky is transformed into a vibrant shade of blue, while the background is shifted toward teal and orange tones. I have shared some examples here that highlight the differences; if you try this out, you’ll have a great experience and achieve excellent results.
Conclusion
I hope you’ve enjoyed this Instagram trend. I’ve included all the editing details and features to ensure you get the best results. If you don’t understand or can’t figure it out, please let us know in the comments and we’ll help you out.