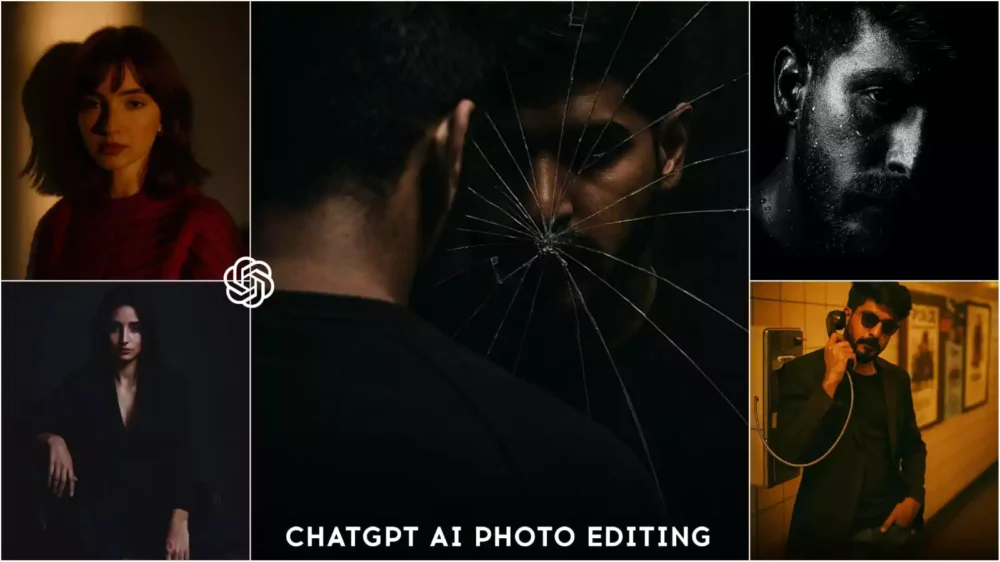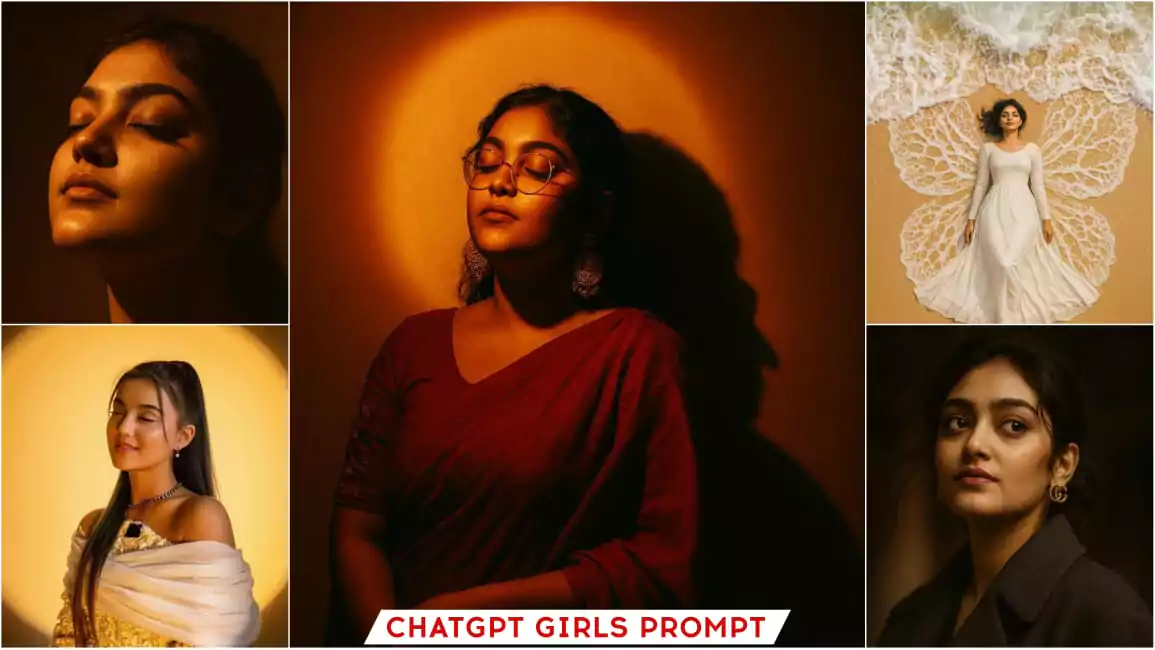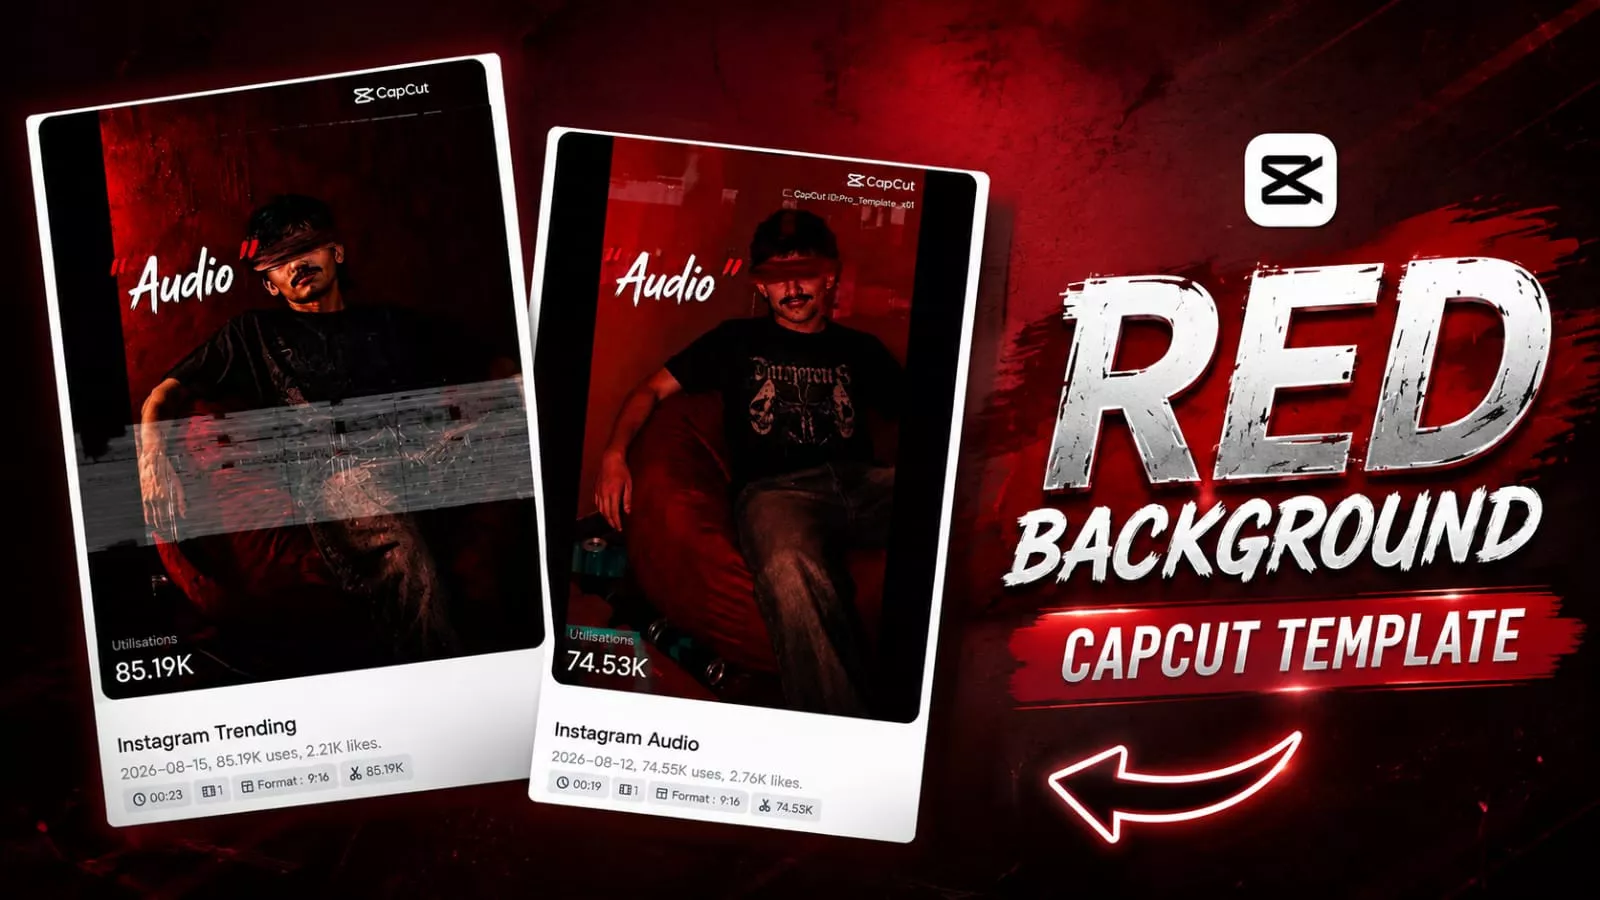
Red Background Dialogue Capcut Template – You have likely seen videos and photos featuring dialogues going viral on social media. People are creating these by converting their photos into videos. Let me tell you that you, too, can create such content. I will explain the exact process that allows people to perform this kind of editing with ease, ensuring your results are perfect. If you follow this method—and I will guide you step-by-step on how to create the photo and then convert it into a video—you will be able to edit anyone’s photos effectively without altering their facial features.
Process Of This Editing
Let’s look at this editing process; I’ll explain the steps involved in creating a perfect video. First, the image is converted into one with a red background. We use the ChatGPT tool for this: by providing a reference photo, the tool generates a version of it set against a red background. That covers the first step. In the second step, the image is transformed into a video. We use a template to turn the standard photo into a video complete with dialogue and audio. That is the process, and I will explain both steps clearly. Once you understand them well, you’ll be able to handle the editing perfectly and with ease.
How To Create Red Background Image?
I understand what you need. First, we need to generate an image—as I explained in the previous paragraph, this is the initial step. I have shared a prompt with you that works for both boys and girls; simply copy it and paste it directly into ChatGPT. Next, click the ‘plus’ icon to upload a reference photo. You don’t need a full-body shot; a half-body photo where your face is clearly visible works best. Using such a photo will ensure the result is perfect. Finally, hit generate and wait a moment; your image will be ready with the perfect aspect ratio.
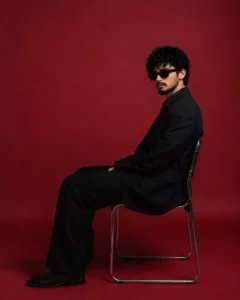
Use the uploaded photo as the ONLY identity and facial reference. Preserve my exact face, facial structure, skin tone, hairstyle, eyes, nose, lips, jawline and natural facial features. Do NOT change or beautify my face. My face must be clearly visible and sharply detailed. Create an ultra-realistic cinematic luxury fashion portrait inspired by the reference composition.

Composition:

Vertical 9:16 portrait, full-body seated composition. I am sitting confidently and casually on a modern chrome-and-black luxury chair, leaning slightly backward in a relaxed pose. One arm rests naturally on the chair armrest and the other hand rests near my thigh. Legs positioned naturally with a stylish editorial pose.

Outfit:

Elegant all-black outfit, black shirt with a slightly open collar, black trousers, premium fitted black blazer/jacket. Sophisticated masculine luxury fashion look. No visible logos or branding.

Face:

My face must be completely uncovered and clearly visible. NO blindfold, NO sunglasses, NO cloth, NO hair covering the eyes. Both eyes must be clearly visible and looking naturally toward the camera. Sharp facial details, realistic skin texture, natural pores, authentic expression, realistic eyes and natural hair. Do not alter my identity.

Background & Lighting:

Deep dark crimson/red studio background with subtle gradients and cinematic shadows. Dramatic red ambient lighting from the background combined with soft directional key light illuminating my face. Strong contrast between the black outfit and red background. Premium editorial fashion

photography aesthetic.

Style:

Ultra-realistic professional DSLR photography, cinematic lighting, high-end fashion magazine photoshoot, realistic skin texture, natural shadows, detailed clothing fabric, realistic hands and fingers, sharp focus on face, subtle depth of field, premium color grading, dramatic but natural atmosphere, photorealistic, 8K detail.
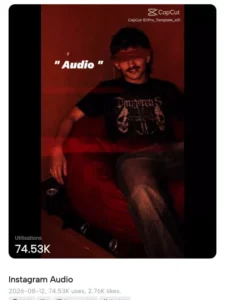
How To Use Red Background Dialogue Capcut Template
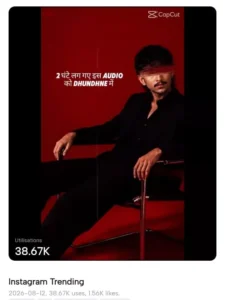
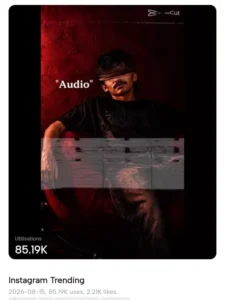
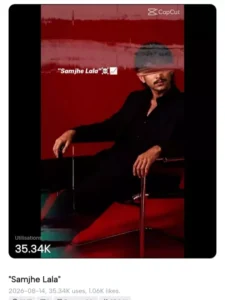
Now that you have created the photo, the next step is to convert it into a video. We will use a template for this; explaining custom effects might be too complex for some, whereas a template-based process is simple—you just add the photo, and your video is ready. First, open CapCut, go to the ‘Templates’ section, and search for “Samjhe Lal.” You will find many templates; simply select one, click on it, and add the image you generated to create the video. Additionally, I have provided some trending templates here; you can simply click on them to create a video directly.
Conclusion
You can complete your editing by following both of these processes. I’ve explained both in detail. Follow whichever one you prefer, create, and let us know how you found these steps. Share your experience with us. We want to know, along with you, whether you’re learning the right editing skills or if you’re experiencing any problems.